
T-Taping: The Illustrated Guide
Build, apply, and wear a T-tape: materials, strip construction, anchoring at the point of equilibrium, strap routes, the 600-gram rule, and skin care.
What T-taping is
 T-taping turns a strip of medical tape into an anchor on the skin tube, then applies steady tension through an elastic strap for hours at a time — far longer than any manual session. It suits restorers who already have some slack and want passive, all-day progress. The cost is ritual: building tapes, applying them well, and caring for the skin underneath.
Materials
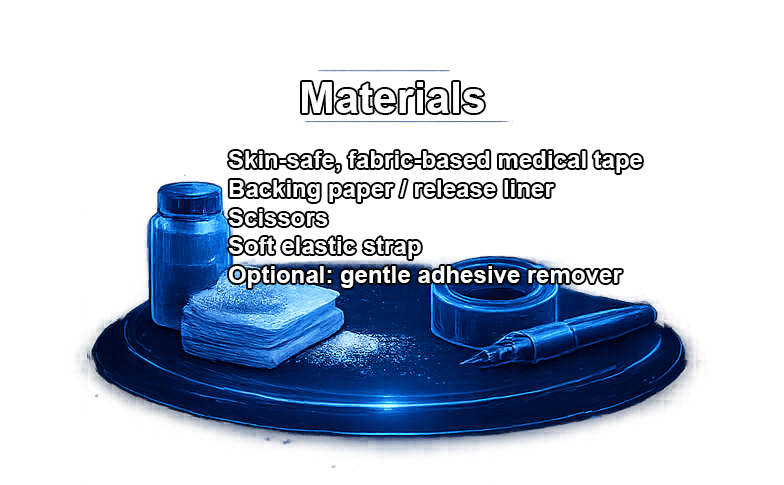
You need a fabric-based, slightly stretchable medical tape (the community standard is a Mefix-type dressing-retention tape, sold in wide rolls), the tape’s own backing paper, scissors, and elastic strapping — sewing elastic, a leg strap, or a waistband strap all work. Avoid rigid plastic tapes; the slight give is what makes wear comfortable.
Building the T-tape
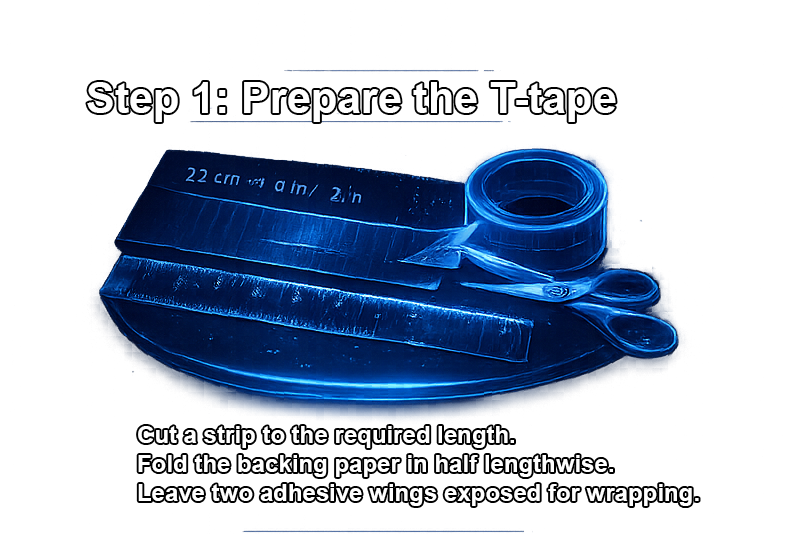
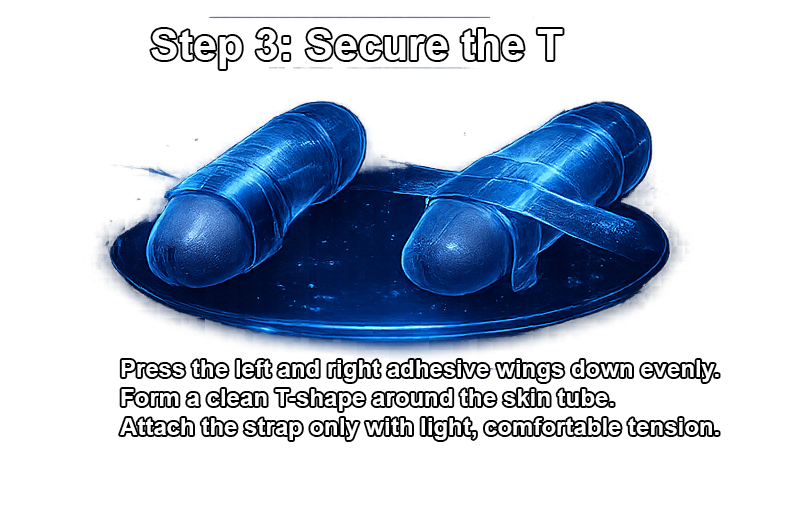
Cut a strip of backing paper and fold it in half along its length; mark guide lines about a centimetre out from the fold on each side. Cut a length of tape, peel it, and lay it adhesive-up. Set the folded backing strip across the tape’s middle using your guide lines, then fold the tape’s adhesive faces together over the backing so they bond to each other, leaving adhesive exposed on both outer wings. Looked at end-on you now have a T: a stiff doubled spine to pull on, two sticky wings to wrap the skin. Finally cut a small notch in the spine’s free end — that is where the strap hooks.
Applying it
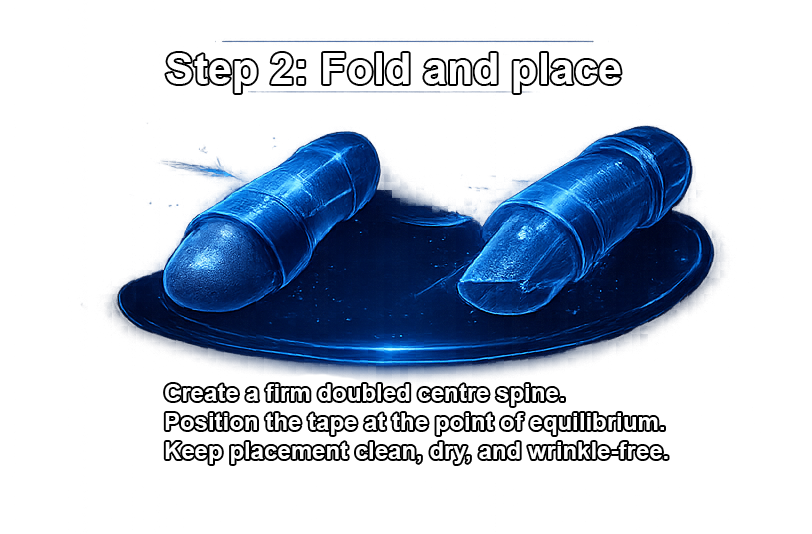
With the skin at rest, centre the wings on the point of equilibrium — where the skin naturally sits flaccid — and wrap them around the tube so the spine stands free. Skin must be clean, dry, and unbroken; trim or avoid hair. Hook the elastic to the notch and route it where your day allows: down to a foot loop (seated work), wrapped around the leg, or up around the waist. Direction matters less than steadiness.
How much tension
The community’s working figure is about 600 grams (20 ounces) of pull — calibrate once by pulling the strap against a kitchen scale to learn what that feels like. It should read as a firm, fully comfortable tug you can forget about. More is not faster; more is sore skin and lifted tape.
Wearing, removing, recovering
- Start with short wears and build toward day-length sessions; no overnight wear until you are experienced enough to trust your setup completely.
- Check circulation at every bathroom break: cold, dusky, or numb means off, now.
- Remove slowly, ideally after a warm shower loosens the adhesive. Never tear a tape off dry skin.
- Give skin adhesive rest days. Irritation that doesn’t settle overnight is a signal to pause taping, not push through.
Under loose clothing a worn T-tape is invisible; a foot-route strap conceals fully inside trousers.
This technique was documented and refined over many years by the RestoringForeskin.org community (2009–2026). This guide is AntiCirc’s own write-up of the method, published as that community’s public home went offline — see the sources below.